The first phase of Operation Charnwood sees Taskforce Micheal assaulting the main German
strong point of Galmanche village, garrisoned by Kampfgruppe Klemens. The
mission played was “Hold the Line” from the V2 rulebook.
The attack starts at 04.30, so night fighting was in
effect until daybreak. The Royal Hussars have been fighting
continuously for three weeks before the attack so they both have a
random strength determine at the start of the each game. The rolling
was mediocre, 2nd squadron ended up with two Shermans and
a Firefly, while 1st squadron ended up with three Sherman.
The British could have got more Shermans and Fireflies. The Germans
opted to use their only available panzer platoon for the defense of
Galmanche since holding the village hinders any attack on the
British second phase objectives.

Galmanche viewed from the east
The Forces
Taskforce
Micheal (approx 1600 pts)
|
Kampfgruppe
Klemens ( approx 2000pts)
|
||
A
company 5th South Norfolk regiment
Company
HQ
1st
platoon with 3 section
2nd
platoon with 3 section
3rd
platoon with 3 section
Support
units
Antitank platoon with 3 section
1st
Squadron Royal Hussars
(tank
platoon)
B
company 5th South Norfolk regiment
Company
HQ
4th
platoon with 3 section
5th
platoon with 3 section
6th
platoon with 3 section
Support
units
Bren
platoon with 3 section
2nd Squadron Royal Hussars
(tank
platoon)
|
1
Kompanie 26th SS panzergrenadier Regiment
Kompanie
HQ with Anti Tank section
1st
platoon with 3 section
2nd
platoon with 3 section
3rd
platoon with 3 section
4th
platoon with 2 MG sections, 1 Mortar section
Support Units
Light SS anti tank gun (PaK) platoon with 3 guns
Light SS infantry gun platoon with 2 guns
2
Kompanie 12th 22 Panzer regiment
SS panzer platoon with 5 PiV
|

British placed objective

German placed objective
The Battle;
The Germans deployed
1st platoon with the CiC and attached Panzershreik and HMG
teams in the village around the British objective. 4th
(heavy weapons) platoon deployed its mortars near the German
objective with its HMG section set-up nearer the front. The panzer
platoon opted to go in ambush. The Mortar spotter went in the church
spire.
In response the British
deployed A company with 1st tank squadron with all the
support platoons and and a rifle platoon from B company on the south
bank facing Galamache village. While the rest of B company and 2nd
tank Squadron went on the north bank of the river.

German artillery spotter an in church tower

Task Force Micheal

A company outside Galmanche

B company North of Galmanche
The first few turns
with night fighting were very quiet. The Germans could not get any
reinforcements nor could the spotter or the CiC see anything in the
dark for ta mortar strike. On the British side the advance was very
slow due to paranoia over possible Panzer ambush with the infantry
having to secure every piece of terrain before the tanks could be
brought forward. The tanks also had trouble driving through the
woods at night with several breakdowns happening.

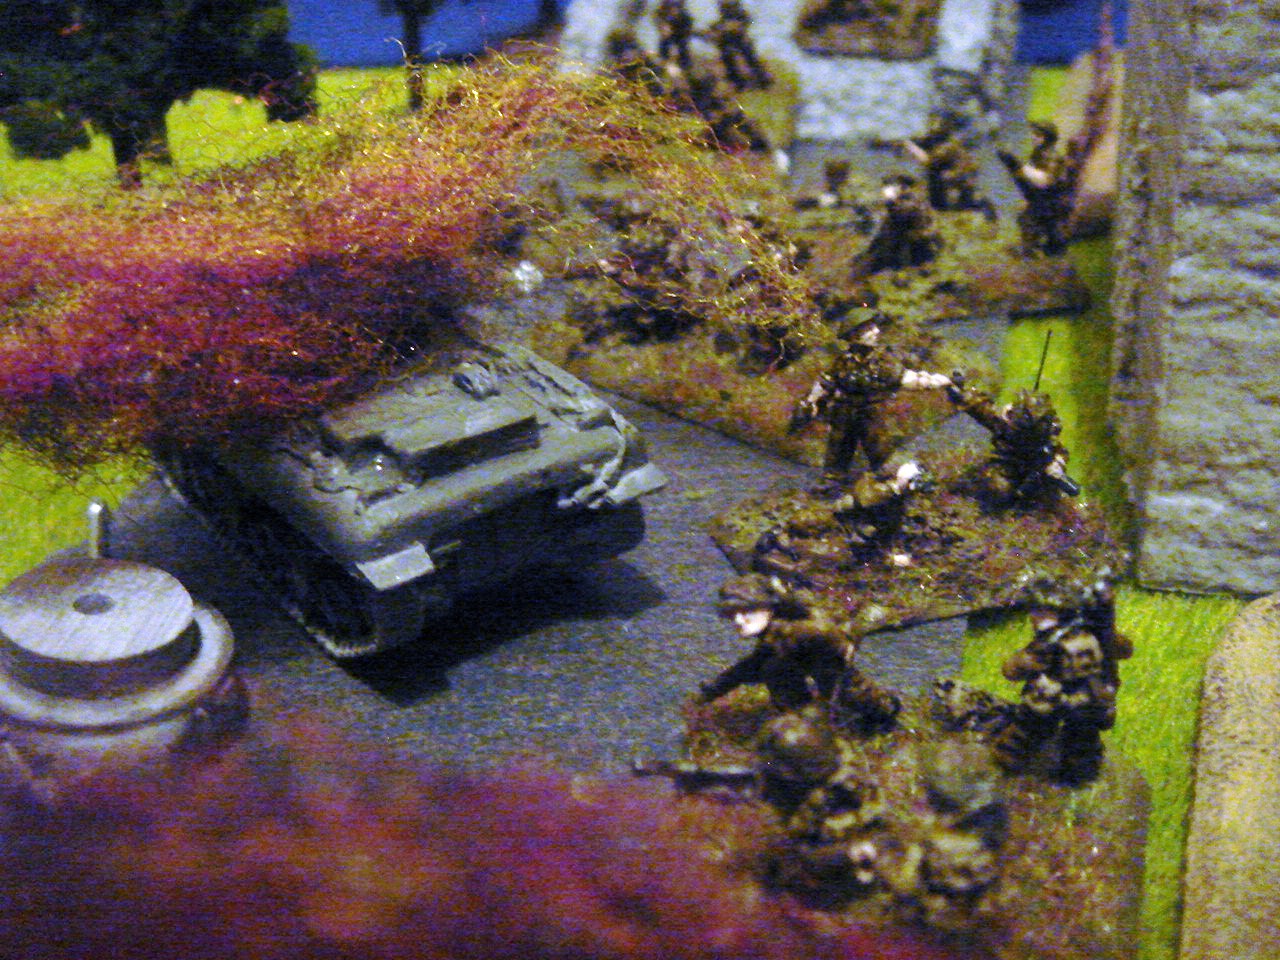
Galmanche main road
On the North bank B
company got into a race with the German HMG section trying to get to
the bend in the river first. The German arrived first and dug in. B
company's arrival was greeted with HMG fire. They made several
attempts to dig in but failed and were eventual forced back with
casualties. Their tank support cross bridge to assist the capture of
the British objective.

Bren section starts recces the village
On the south bank
things started to heat up when the British infantry moved into rifle
range on the church and started to pepper spotter with rifle fire.
Annoyingly, the spotter failed to see where the shoots were coming
form. German reinforcement eventually began to arrive and raced to
the front but their movement was not helped by the night movement
which limited their speed.

View from the German end of the village
The British infantry
and armour began to creep into Galamache. One of the Bren section
opted to try out flank the village but ran straight into the
newly arrived German 2nd platoon. Both sides exchanged
fire and the German was lost a team. While the bren section lost a
carrier and was forced to disengage.

German reinforcements moving to the village
The Panzers finally made their
appearance but the hoped for decisive ambush was not to be since they
could not make the British shermans in the dark. Instead they machine
gunned a rifle platoon from B company, inflicting several casualties.
Shermans and anti tank guns began to engage the panzers but it was
their turn to roll badly for night fight. Only the anti tank platoon,
the furtherest platoon away, could make out the panzers and a salvo
from their six pounders destroyed a PiV.

Shermans start to duel with PiVs
Day light broke just the
second bren section and the German anti tank platoon arrived at
either end of the main village road. The Pak's fired first and
destroyed two wasps forcing the survivor to flee. The British armour
duelled with the Panzers. The Panzers lost another tank but succeed
in destroying the British tank squadron with the Firefly. With day
break the German artillery and HMGs began to devastate the British
infantry in the open. The German 2nd platoon hunted down
and destroyed the last bren section. 1st and 2nd
platoons of A company and 5th platoon of B company were
caught in the open and destroyed. Taking heavy loss including the
loss of the HQ section ,A company broke and B company decide to call
off the attack at 07.30. The British retreated leaving the Germans in control
of the village.
The Aftermath;
Taskforce
Micheal
|
Kampfgruppe
Klemens
|
||
A
company 5th South Norfolk regiment
Company
HQ -destroyed
1st
platoon -destroyed
2nd
platoon – 3 teams lost
3rd
platoon -destroyed
Support
units
Antitank platoon with 3 section – no damage
1st
Squadron Royal Hussars
(tank
platoon) -destroyed
B
company 5th South Norfolk regiment
Company
HQ – no damage
4th
platoon – 4 teams lost
5th
platoon -destroyed
6th
platoon – 2 teams lost
Support
units
Bren
platoon -destroyed
2nd Squadron Royal Hussars
(tank
platoon) -no damage
|
1
Kompanie 26th SS panzergrenadier Regiment
Kompanie
HQ – no damage
1st
platoon – no damage
2nd
platoon 1 team lost
3rd
platoon – no damage
4th
platoon with – no damage
Support Units
Light SS anti tank gun platoon – no damage
Light SS infantry gun platoon – no damage
2
Kompanie 12th 22 Panzer regiment
SS panzer platoon -2 PiV lost
|
With A company gone, the Captain of B company calls off the attack
The British took a
beating. Task Force Micheal has been disbanded The 1st
Squadron Royal Hussars was destroyed, and A Company affectively
destroyed. Its survivors have been transferred to B company to form
below strength rifle company with the anti tank platoon in support. B
company and the 1st Squadron Royal Hussars have gone back
into the British reserve pool
The Germans got away
lightly with just one team and two Panzers lost. The Germans failed
to salvage either the two damaged panzers (forgot to roll for them)
or repair the destroyed British tanks (did not pass the test). This
was bad since the German losses can not be replaced. They now have
three effective panzers facing twelve platoons of assorted British
armour. With the day breaking the British can start to bring
artillery support for the next attack. Next up is the parallel
attack on La Bijude by taskforce Paul.
No comments:
Post a Comment